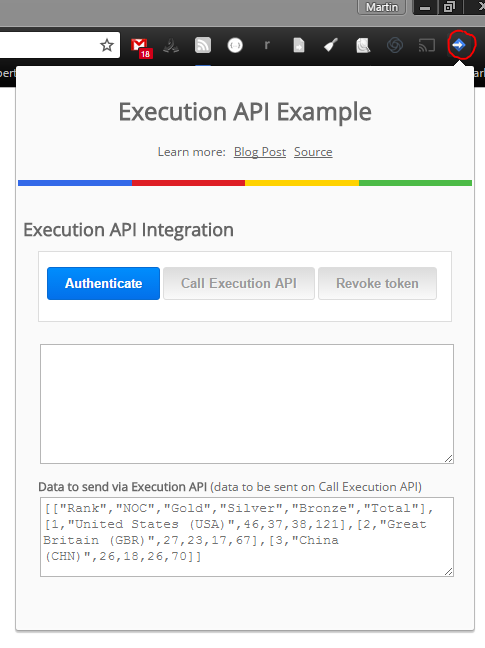
Recently I was asked to contribute to a Chrome Extension. As part of this project we wanted to send data from the extension into a Google Sheet. There are a number of ways you could do this including just using the Google Sheets API but the way I decided to go was to use Google Apps Script and the Execution API. As using the Execution API within a Chrome Extension is a slightly different setup I’ve created an example extension on Github. If you download this and install on your own version of Chrome you can test the authentication flow. In the demonstration the Call Execution API will create a copy of this Google Sheet template and insert the data from the bottom field. For transparency the Script file called by the extension is here (if you run the extension the code is also contained in the copy of the Google Sheet created for you).
Chrome Extensions and Content Security
If you are already familiar with HTML/JavaScript developing Chrome Extensions should be straightforward:
Extensions allow you to add functionality to Chrome without diving deeply into native code. You can create new extensions for Chrome with those core technologies that you’re already familiar with from web development: HTML, CSS, and JavaScript.
If you have developed applications using the Execution API with HTML/JavaScript you’ve probably used Google client library to do this. As Google states “while not strictly necessary, can greatly assist in handling OAuth for the application”. In the case of Chrome Extensions the use of client libraries can be problematic. For example, when developing my first Chrome Extension I encountered a number of errors similar to:
Refused to load the script 'https://apis.google.com/js/client.js' because it violates the following Content Security Policy directive: "script-src 'self' chrome-extension-resource:"
There are solutions for these on Stack Overflow (like this one), but I didn’t get those to work. As the Execution API relies on the user having a Google Account using the Chrome Identity API appears to be a better solution.
Hopefully there is enough commenting in the popup.js file where authentication and communication with the Execution API is handled for it to make sense. The basic flow is when the popup is opened the extension silently checks/requests a authentication token. If a token is present the authenticate button is disabled, otherwise the button is enabled and when clicked starts the interactive authentication flow. Once a token is received the user can call the execution API script associated with the project. If you are interested in using the Execution API in your own chrome extension here are some notes on setup.
Setting up an Execution API script to run in a Chrome Extension
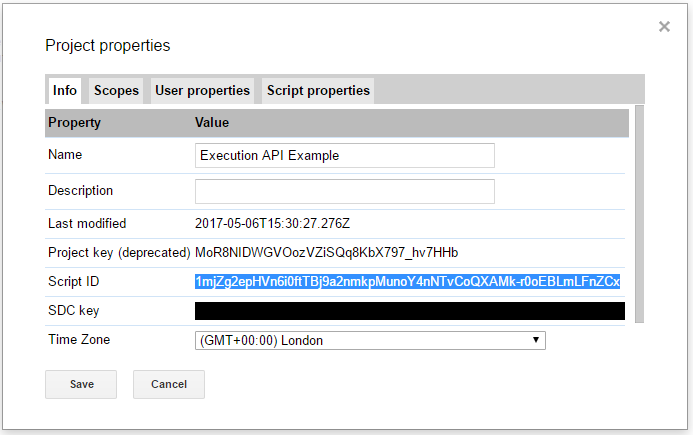
Starting with the Google Apps Script project we need to copy some details into the extension. First From File > Project properties you will need to add the Script ID to the Chrome Extension. In the case of this example this is declared as a variable on line 16 of js/popup.js. This is used on lines 119-124 of the same file. This is also where you would a different function name within you executable and include any data you wanted sent to the function.
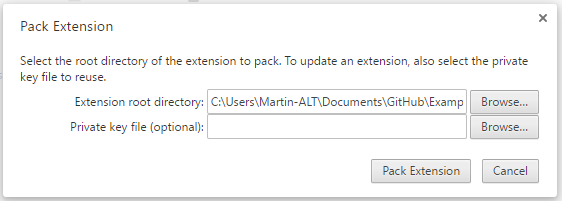
Within the manifest.json file you need to declare all the scopes your executable requires. In this example as only spreadsheet access is required this is included on lines 26 -28. As this extension requires us to create OAuth client id we need to create a fixed application ID. Usually you would get this when you uploaded to the Chrome Store but this can also be fixed by providing a key in the manifest.json file (see official developer documentation). The easiest way I found to do this for Windows PC was from the Chrome Extensions screen click ‘Pack extension…’

In the Pack Extension dialog locate you working directory for your extension and then click ‘Pack Extension’.
In the directory above your working directory there should now be .crx and .pem files. Opening the .pem file with a text editor will reveal the key to copy in to your manifest.json file, in my example on line 30 (I’m guessing carriage returns in the .pem file need to be removed).
The final piece of data for the manifest.json file is generating the client_id (line 25). To get this follow the usual steps for setting up your executable contained below in case needed:
From the Script Editor click Publish > Deploy as API executable…
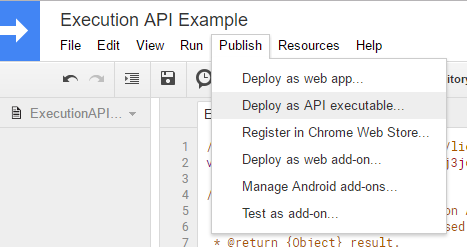
If needed you’ll be prompted for a version number and who can use it. To use the executable we also need to enable the Execution API for the project on Google Cloud Platform. You can do this from the Script Editor using Resources > Cloud Platform project and then clicking the link in the dialog prompt:

In the Cloud Platform window search for ‘Execution API‘ and click on ‘Google Apps Script Execution API‘ and in the window that opens click the ‘Enable‘ button:

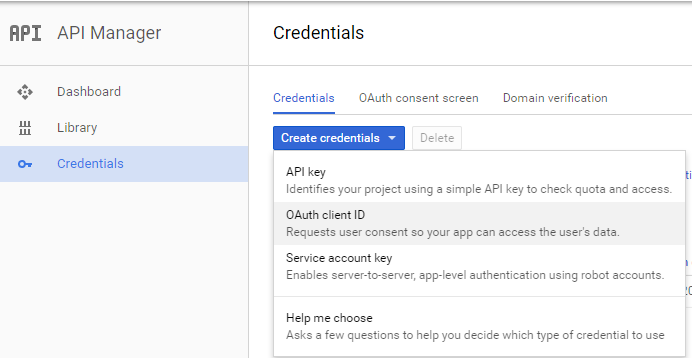
On the same screen click ‘Credentials‘ and create a new OAuth client ID:
In the APP ID field in the Create client ID window copy and paste the ID from your Chrome Extensions Settings page:
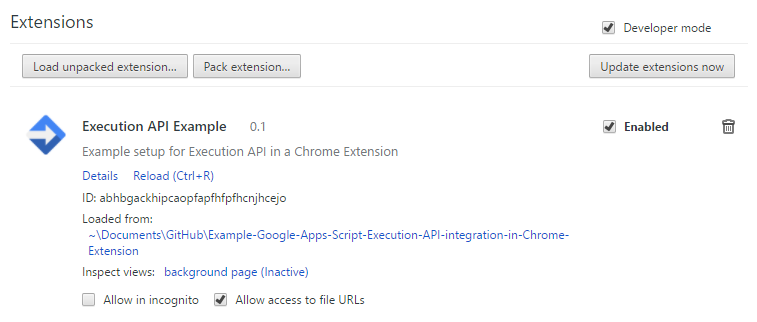
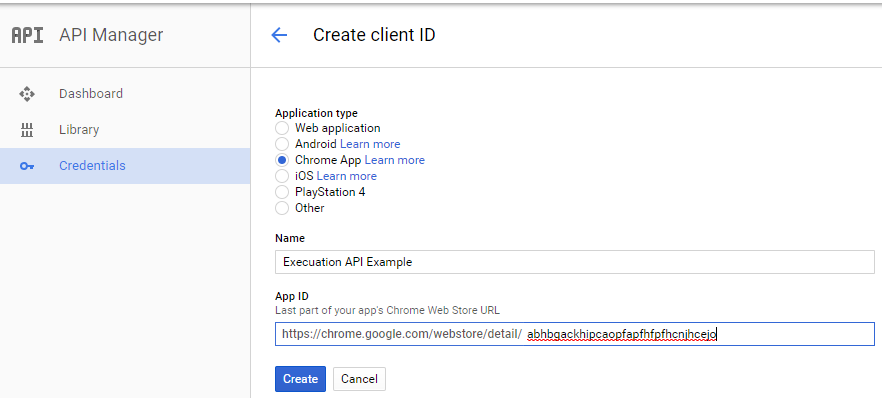
From this process you’ll be given a client id to include in your extension manifest.json file, in the case of this project as shown on line 25.
Note: With the Execution API there is an option to pass a "devMode":true parameter in your code. If you leave this in when deployed users accessing the code other than yourself may get the following error:
"error": {
"code": 403,
"message": "The caller does not have permission",
"status": "PERMISSION_DENIED"
}
To solve dont’t include "devMode":true
Acknowledgements
This project is based on: